Hand Embroidery Resources

Looking to start your hand embroidery journey or refine your stitching skills? Whether you’re a complete beginner or an experienced stitcher, this FREE webpage covers everything you need to know—from essential embroidery supplies to beginner embroidery stitches and advanced techniques.

How Do I Get Started?

Get Basic Supplies

Before you start stitching, you'll need a few basic supplies. Here's what I recommend picking up before stitching:

Water Soluble Stabilizer (if you are printing patterns)

Regular Embroidery Supplies:

Sweater Embroidery Supplies:

Resize Your Design

If you have purchased a printable pattern from my shop, you can easily resizing and rearrange your patterns following these directions:

Resizing On Printer:

  • Use the scale function on your printer settings to scale the images up or down to increase or decrease the size

Resizing & Rearranging On Canva or Word:

  • Save your digital patterns as a PNG
  • Upload your PNG file into Canva or Word.
  • Drag the patterns into a 8.5 x 11 inch document.
  • Use the crop tool to crop the patterns and pull different images that you want to rearrange or resize.
  • Export your adapted file as a PDF to print on your printer.

Print or Trace Your Design

PRINTING INSTRUCTIONS: If you purchased a printable stick & stitch pattern or hoop design, you may choose to print directly on water soluble stabilizer.

  • Insert a sheet of stick and stitch paper into your printer with the adhesive side facing down.
  • Be sure to follow your printer's instructions for loading specialty paper. For the best printing results on my specific printer, I have found the following printing settings to produce the cleanest images: "Matte Presentation Paper" as paper type & quality set to draft print or regular so the ink is less aggressive and doesn’t bleed on your projects.
  • Ensure that the design is centered and aligned correctly on the paper.

TRACING INSTRUCTIONS: If you purchased a printable stick & stitch pattern or hoop design, you may choose to trace the design instead.

Ways to trace:

  • From your laptop: Simply place your the fabric in the hoop and lay it flat on your computer screen & trace the design onto the fabric, then turn it back to the front. You can also do this to trace on stabilizer with a water soluble pen.
  • On a window: Print out the pattern and tape on the window. Then hold your hoop or stabilizer flat on the window and trace the design.
  • Lightbox: If you have access to a light box, print the pattern and place it on the lightbox to trace onto your hoop or stabilizer using the light.

Learn Beginner Stitches

Click here to visit my blog with 15 beginner embroidery stitches that will work across any embroidery project!

You can also watch these YouTube videos to learn beginner embroidery stitches:

Satin Stitch Flower Petals

Back Stitch, Lazy Daisy, Woven Wheel, French Knot, Straight Stitch, Leaf Stitch (Flower Embroidery 101)

Back Stitch Names

Lazy Diasy, French Knot (Floral Sweater Embroidery)

Chain Stitch (Names on Knit Sweaters)

Have Fun with Colors & Threads

Experiment with different thread colors. Search Pinterest and Instagram for different color schemes and styles that you like.

If you need some guidance, I have a beginner colorful stick & stitch pack that comes with corresponding DMC color guides so that you don't have to stress about this step!

Secure Your Threads

Always knot your thread/yarn 2-3 times to ensure that nothing comes unraveled. For extra security, weave your thread/yarn through previous stitches on the back of your project before tying knots.

Beginner Projects

Looking for inspiration? Try these beginner-friendly projects:

Custom Name Sweater – Learn only one stitch (chain stitch) with my step-by-step youtube video while making a sweet keepsake for a baby/mama in your life.

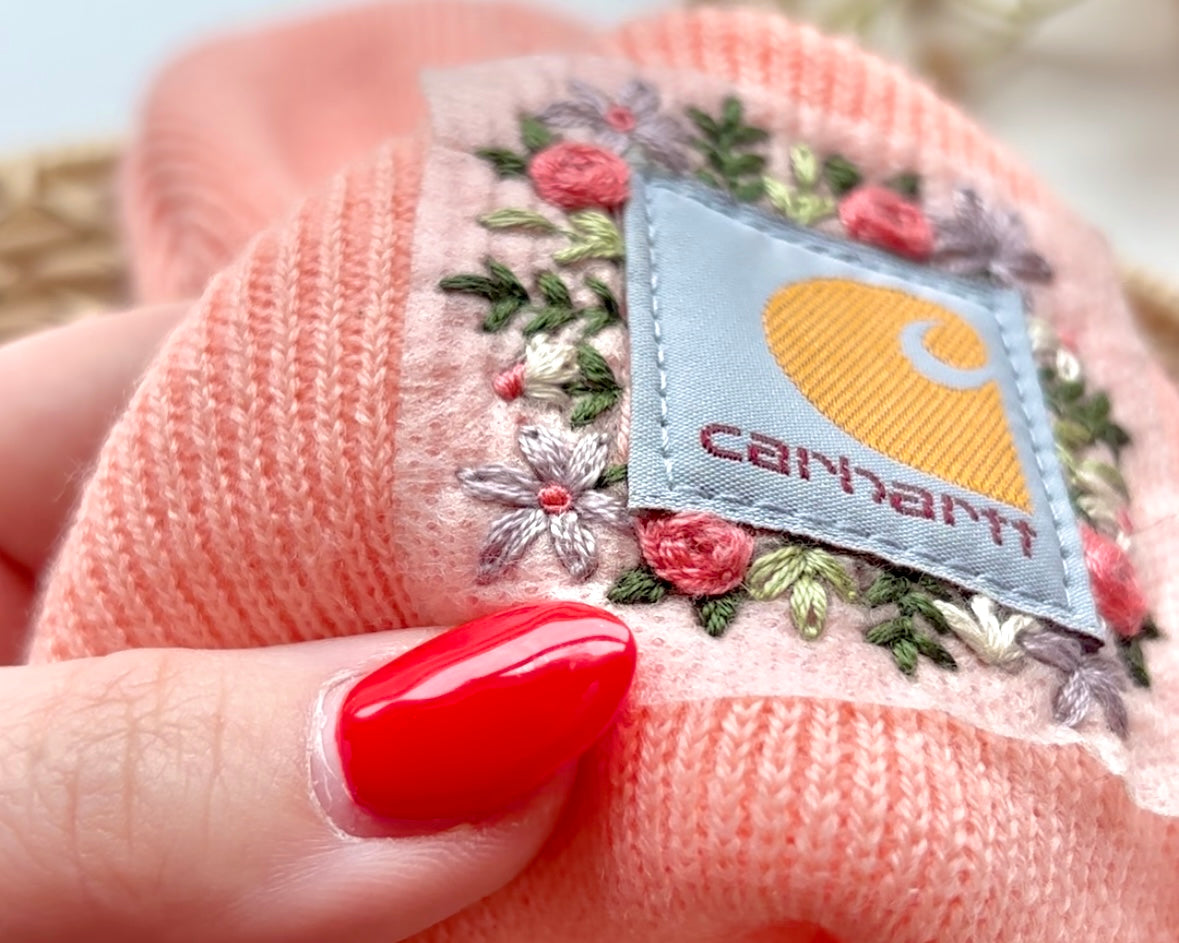
Floral Carhartt Beanie – Dive right into embroidery with this adorable floral beanie. Grab the water soluble patterns, the supplies, and watch my youtube tutorial with a step-by-step on the different stitches used for flowers.

Personalized Ornament – A fan favorite during the holidays! Purchase the full kit or patterns and watch my step-by-step youtube video.

Troubleshooting Common Embroidery Mistakes

Even experienced stitchers make mistakes! Here’s how to fix common beginner issues:

1. Ink Bleeding or Discoloration – If you use stabilizer or erasable pens, make to wash your project thoroughly for 3-5 with soap and work your fingers under the stitches to ensure everything gets washed off.

2. Threads Keep Tangling – Try using shorter lengths of floss (about 1 arms length) and separate strands before stitching.

3. Stitches Look Uneven – Take your time and try to keep your stitches the same length each time.

4. Yarn is Unraveling – Hold your project upside down and let the yarn dangling and unwind. Then, manually wind your yarn in the opposite direction to tighten it again.

Helpful Blog Posts & Tutorials

Dive deeper into embroidery with these helpful resources:
Best Sweaters for Hand Embroidery Here is a list of my favorite sweaters to use for embroidery projects.
Best Yarns For Embroidery - Choose the best yarns for your embroidery projects!
Heavy Chain Stitch Tutorial for Beginners – Turn your work into wall art or a special keepsake!

Ready to Start Stitching?

Hand embroidery is an easy, relaxing, and rewarding craft that anyone can learn. With just a little practice, you'll be creating beautiful designs in no time. Browse my shop for embroidery kits, tools, and patterns to bring your creativity to life!

👉 Shop Beginner Embroidery Kits